
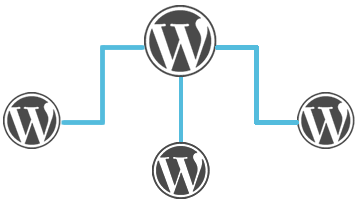
 With WordPress, it is easy to manage many sub-domains from one site at the click of a button. It is also easy to have different admins for different operations on a single website. WordPress multisite is a feature that makes it easy to manage multiple sites with only one admin panel.
Though the feature has come long ago, not many people know of the WordPress multisite. Read article below to know what WordPress multisite is and how you can enable it.
What is WordPress Multisite?
A WordPress multisite is when a sub-domain is created from the main domain. The sub-domain can have its theme, plugins, content and works just as the main domain. A good example in this regard is WordPress.com. Users sign up and create sub-domains from the site that are hosted by WordPress.com. The sub-domains appear as myblog.wordpress.com.
Who Needs WordPress Multisite?
Not all website owners need a multisite network. However, there are cases where having WordPress multisite comes handy.
For instance, multisite may be necessary for the magazine websites that have different sections for instance nutrition, real life experiences, sports among others and each of the sections is managed by a different team.
A business site like a bank with different branches all over the world may decide to have sub-sites managed from the different localities, departments or regions.
A person with a network of blogs covering different topics can have WordPress multisite to make it easy for readers to target the right information.
Enable Multisite Network in WordPress
The multisite feature comes in-built in WordPress. The only thing you need to do is to install and setup your WordPress site. You can also use an existing site to create multisite. Ensure you have created a backup of your site before you create multisite. To enable this, open your site through an FTP client like Filezilla or use the cPanel manager. Open wp-config.php for editing.
Add the shortcode:

This is added just before
![]()
This shortcode enables your site for multisite. After editing that, save the file and upload it back to the server.
How to Set up the Network
After enabling multisite feature using a shortcode, you are ready to set up the network. You need to deactivate all plugins in your site before you setting up the network. After deactivating the plugins, go to Tools and select Network Setup from where you will be able to configure your multisite.
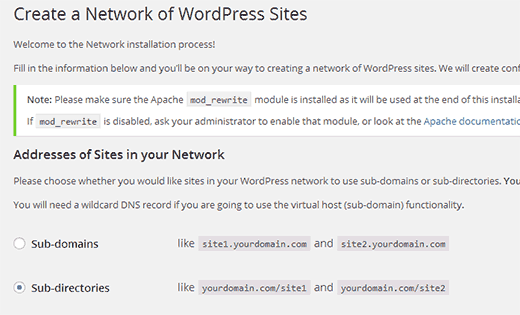
From the Network Setup Screen, a notice will be displayed that you need Apache’s mod_rewrite module to be installed on your server. Most of the renowned hosting providers have this module already installed on their server.
After this step, you need to select whether you need subdomains (for instance subdomain.yoursite.com) or you need sub-directories (yoursite.com/subdomain). Give your network a title and verify the email address in the Network Admin and then click Install.
WordPress will show you some rules to add to your wp-config.php file and also on the .htaccess file in form of codes. Using an FTP client, copy and paste the codes as displayed to edit the two files.
Configure the Settings for the Network
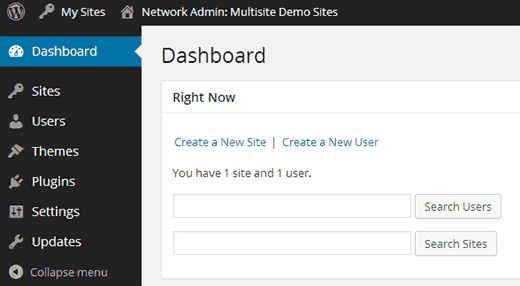
Now, you need to go for the Network Dashboard to configure network settings. To do this, simply move your mouse to My Sites tab in the admin toolbar. After finding a flydown popup, click on Network Admin » Dashboard.
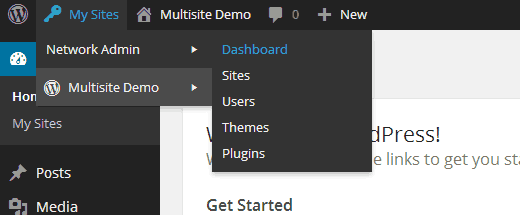
The menu can have options of creating new sites and new users. It also allows you to manage your site with much ease.
Click on Settings to configure the settings for your network. The first screen allows you to set the title of the network and the email address of the proposed admin. The fields will be filled with the details you entered while setting up the network.
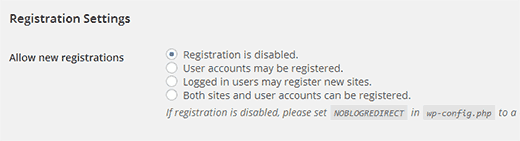
Open the Network for Registration
Both site registrations and user will be disabled by default. Open Registration Settings on Network Settings and enable users or other admins to create new sites.
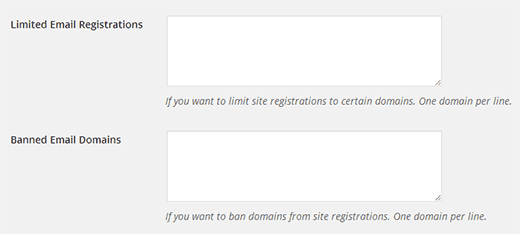
You can also set up limited email notifications that allow you to limit registration to specific email address domains. You can choose to enable Registration Notifications to get notifications every time a new user registers. You can also enable sites admin to Add New Users. You can ban different domains from registering on your site.
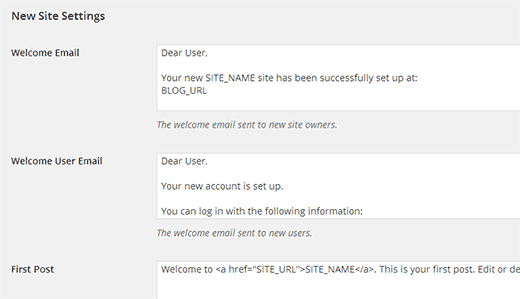
Settings for the New Site
New Site Settings allow you configure the options to set the default options like the welcome email for the new sites. You can also set the default page, post or any other link.
Upload Settings for the Multisite Network
On the Uploading Settings page, you set the maximum space to limit the usage of the server’s resources. The default space is 100 MB per sub-site which is enough to hold 100 photos. You can however change the default space depending on the space you have on your disk.
Go to Upload Settings and change the size as you wish. You can also set the maximum file size that can be uploaded at a specific time from the same page.

You can also change the default file type for images, audio and pdf to add something else like doc, odt or docx. Set the file size limit and save settings to finish. Set other simple aspects of the multisite like menu settings and adding new themes to the multisite network, and you will be good to go.