
First, Install SMTP Server
- Verify that the user account performing this procedure is a member of the Administrators group on the front-end web server.
- Open Server Manager.
- In Server Manager, click Add Roles and Features.
- Click Next to skip role in installation
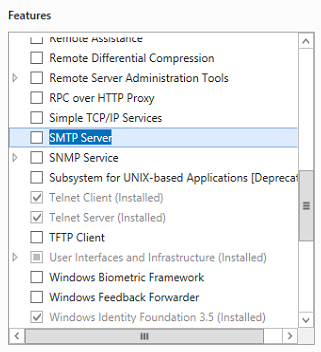
- On the Features screen, select SMTP Server.
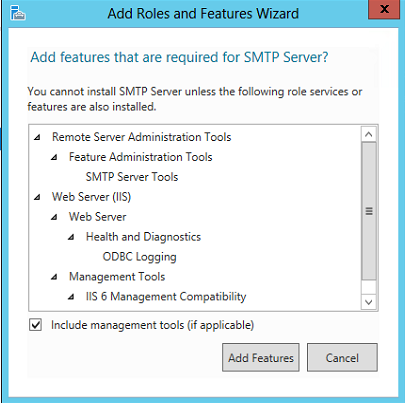
- In the Add Roles and Features Wizard dialog box, click Add Features, and then click Next.
- On the Confirm Installation Selection page, click Install.
- On the Installation Results page, ensure that the installation finished successfully, and then click Close.
Configure SMTP Server
- Open Internet Information Services (IIS) 6.0 Manager.
- In IIS Manager, expand the server name that contains the SMTP server that you want to configure.
- Right-click the SMTP virtual server that you want to configure, and then click Start.
- Right-click the SMTP virtual server that you want to configure, and then click Properties.
- On the Access tab, in the Access control area, click Authentication.
- In the Authentication dialog box, verify that Anonymous access is selected.
Click OK.
- On the Access tab, in the Relay restrictions area, click Relay.
- To enable relaying from any server, click All except the list below.
- To accept relaying from one or more specific servers, follow these steps:
- Click Only the list below.
- Click Add, and then add servers one at a time by IP address, or in groups by using a subnet or domain.
- Click OK to close the Computer dialog box.
- Click OK to close the Relay Restrictions dialog box.
- Click OK to close the Properties dialog box.
Set SMTP Service to start Automatically
- Open Services.
- In Services, right-click Simple Mail Transfer Protocol (SMTP), and then select Properties.
- In the Simple Mail Transfer Protocol (SMTP) Properties dialog box, on the General tab, in the Startup type list, select Automatic.
- Click OK.
Create an OU in AD DS
- Verify that the user account that is performing this procedure is a member of the Domain Administrators groupor a delegated authority for domain administration on the domain controller that is running DNS Manager.
- Click Start, point to Administrative Tools, and then click Active Directory Users and Computers.
- In Active Directory Users and Computers, right-click the folder for the second-level domain that contains your server farm, point to New, and then click Organizational Unit.
Type the name of the OU, and then click OK. In my scenario, I used the name as “SharePoint Contacts”
Delegate Permission to Create and Delete all child objects
- Verify that the user account that is performing this procedure is a member of the Domain Administrators groupor the Enterprise Administrators group in AD DS, or a delegated authority for domain administration.
- Right-click the OU, and then click Delegate control.
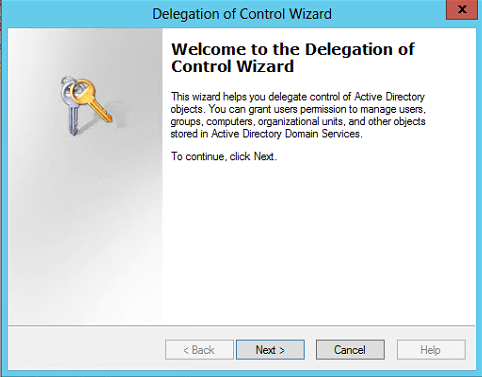
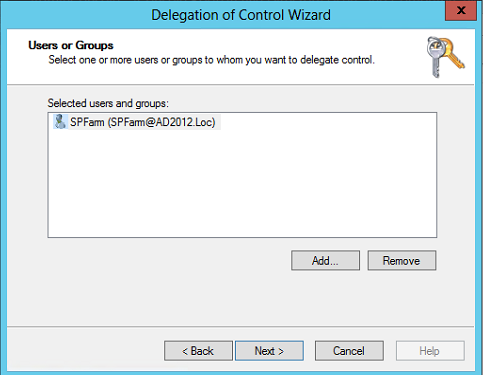
- In the Delegation of Control Wizard, click Next.
- Click Add, and then type the name of the application pool identity account for Central Administration.
- Click OK.
- Click Next.
- On the Tasks to Delegate page of the Delegation of Control Wizard, select Create a custom task to delegate, and then click Next.
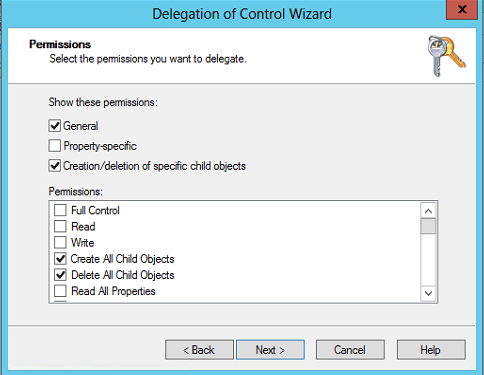
- Click This folder, existing objects in this folder, and creation of new objects in this folder, and then click Next.
- In the Permissions section, select Create all Child Objects and Delete all Child Objects.
- Click Next.
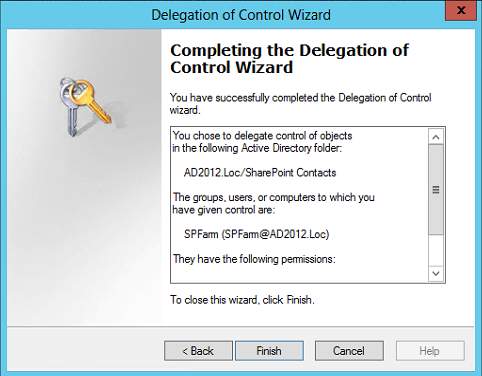
- On the last page of the Delegation of Control Wizard, click Finish to exit the wizard.
Create Send Connector in Exchange Server
Browse to Exchange Control Panel https://ExchangeServer/ecp (Both my SQL and Exchange runs on same server).
Click on Mail Flow then Send Connectors.
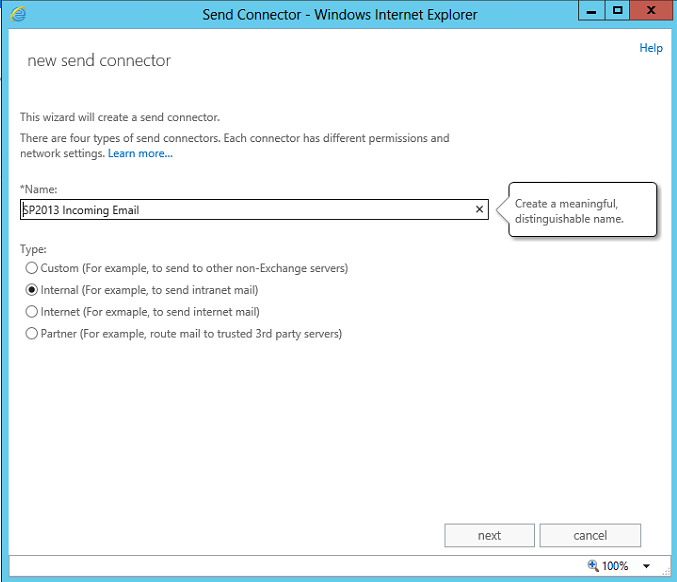
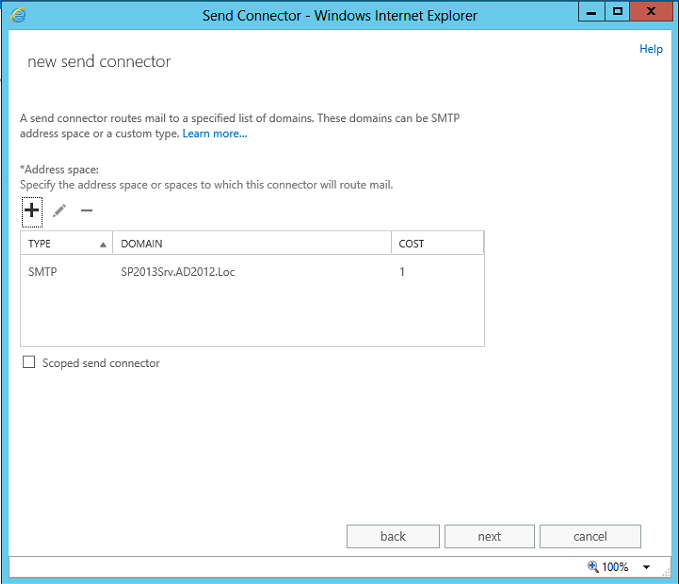
Click on New Send Connector Icon and give it meaningful name and choose Internal.
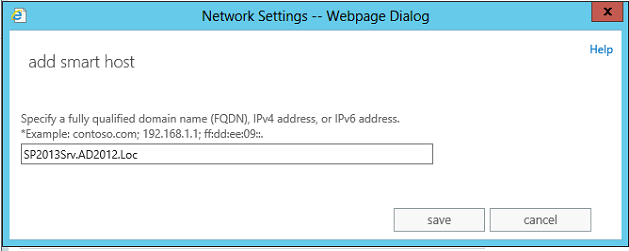
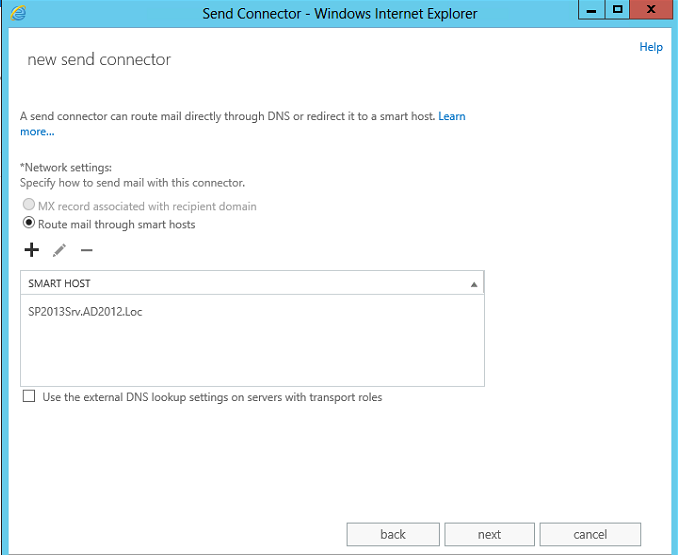
- Choose “Route mail through smart hosts” and click on Add and provide SharePoint Server FQDN.
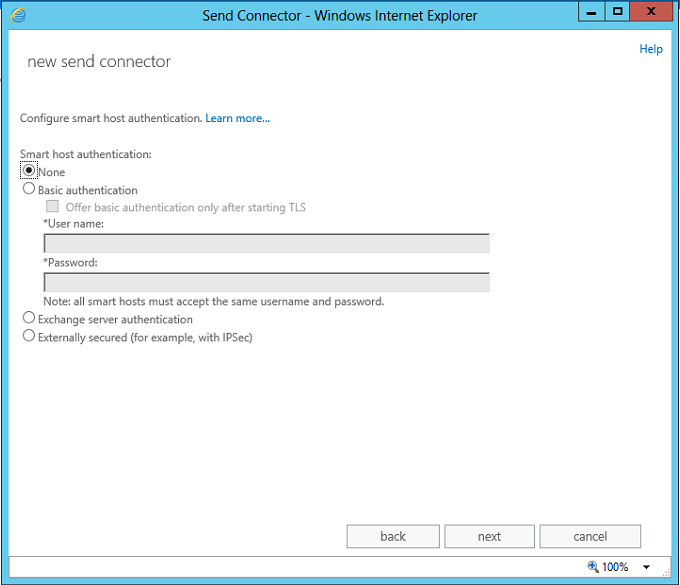
- Choose None as the Authentication method.
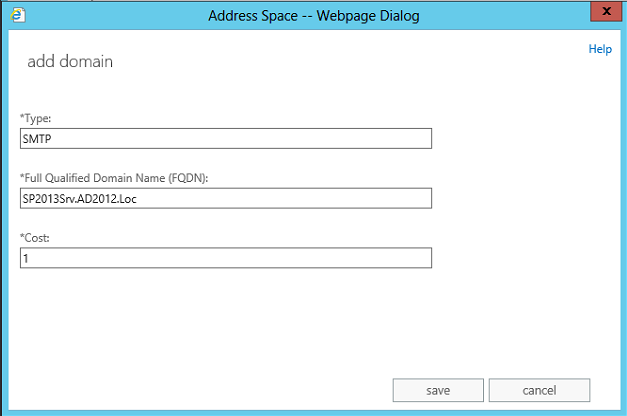
- Provide the FQDN of the SharePoint Server where SMTP role is installed and click on Save and then Next.
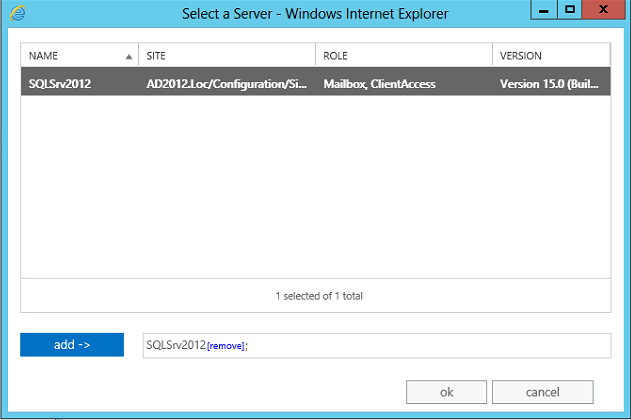
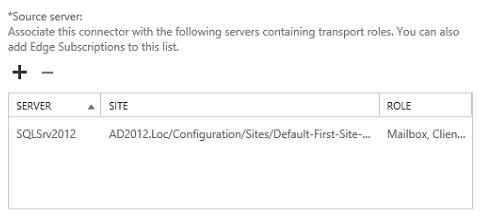
- On the Source Server screen add the exchange server and click Finish.
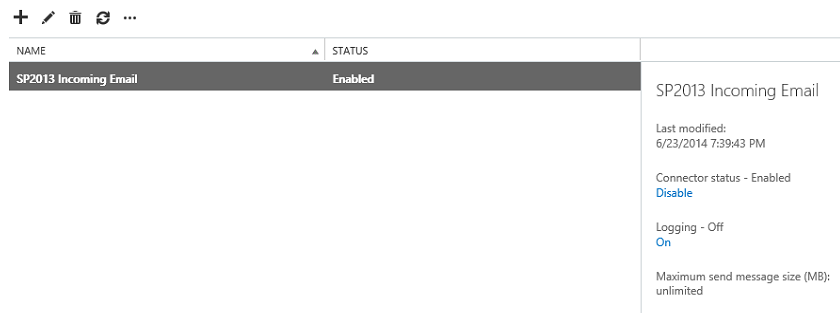
- Ensure that the Connector status shows as Enabled.
Configure SharePoint Incoming Email
- Make sure Microsoft SharePoint Incoming Email service is started. If it has stopped, Start the service.

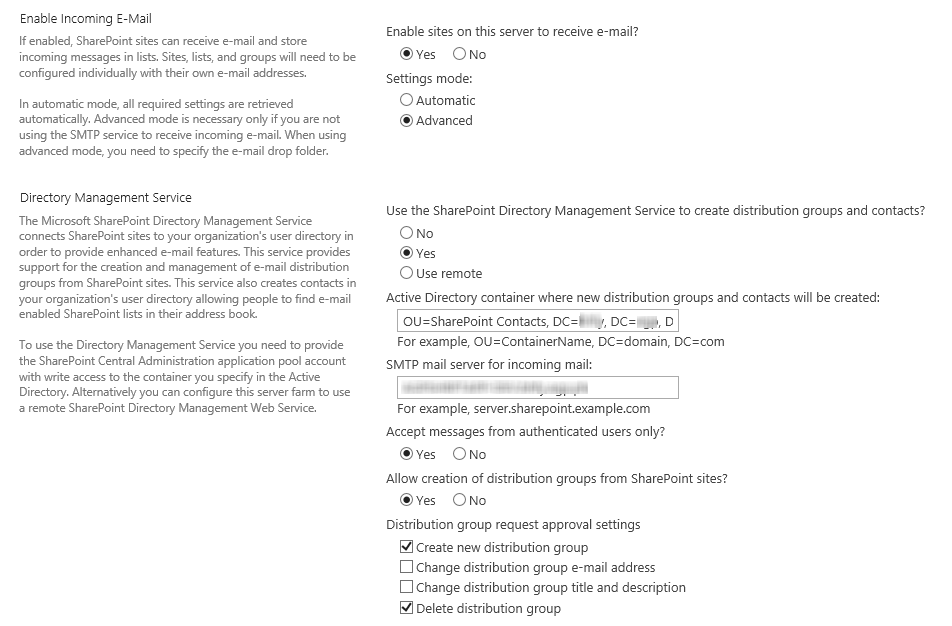
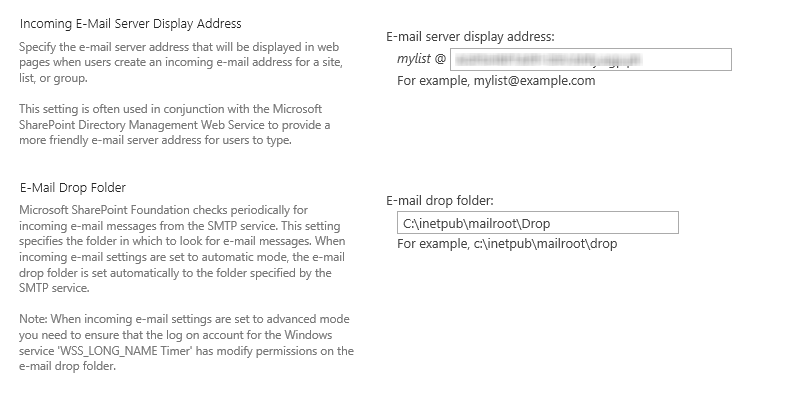
Then in Central administration System Settings > Configure Incoming Email Settings set the settings as below.
- Settings Mode: Advanced
- Directory Management Service: Yes
- AD Container: OU=SharePoint Contacts, DC=AD2012, DC=Loc
- SMTP Server: FQDN of the Front End Server: SP2013Srv.AD2012.Loc
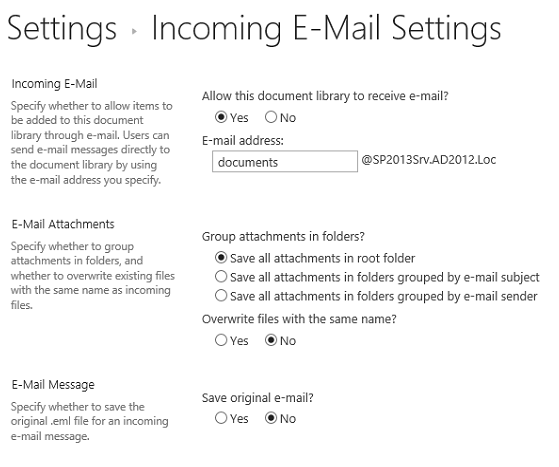
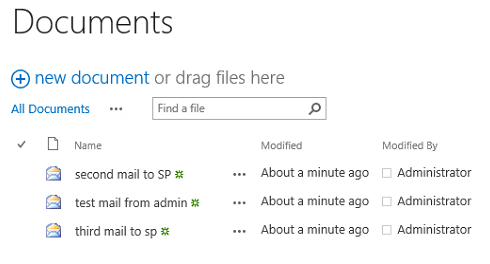
Configure Document Library to Receive Email
- Browse to a library > Library Settings > Incoming Email Settings to enable.
- Under Document Library Settings you can check the mail address.
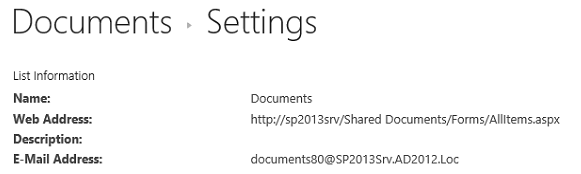
- You can see that it works.
Thank you for reading! Hope it also works for you.